- Create dedicated setup documentation for each IDE
- Add Claude Code setup with proper CLI commands and screenshots
- Add Cursor setup with video tutorial and MCP configuration
- Add Windsurf setup with video tutorial and settings instructions
- Update README to consolidate IDE setup under "Connect your IDE" section
- Include visual guides with screenshots for better user experience
- Link all IDE guides to main Claude Project Setup instructions

🤖 Generated with [Claude Code](https://claude.ai/code)

Co-Authored-By: Claude <noreply@anthropic.com>
1.8 KiB
1.8 KiB
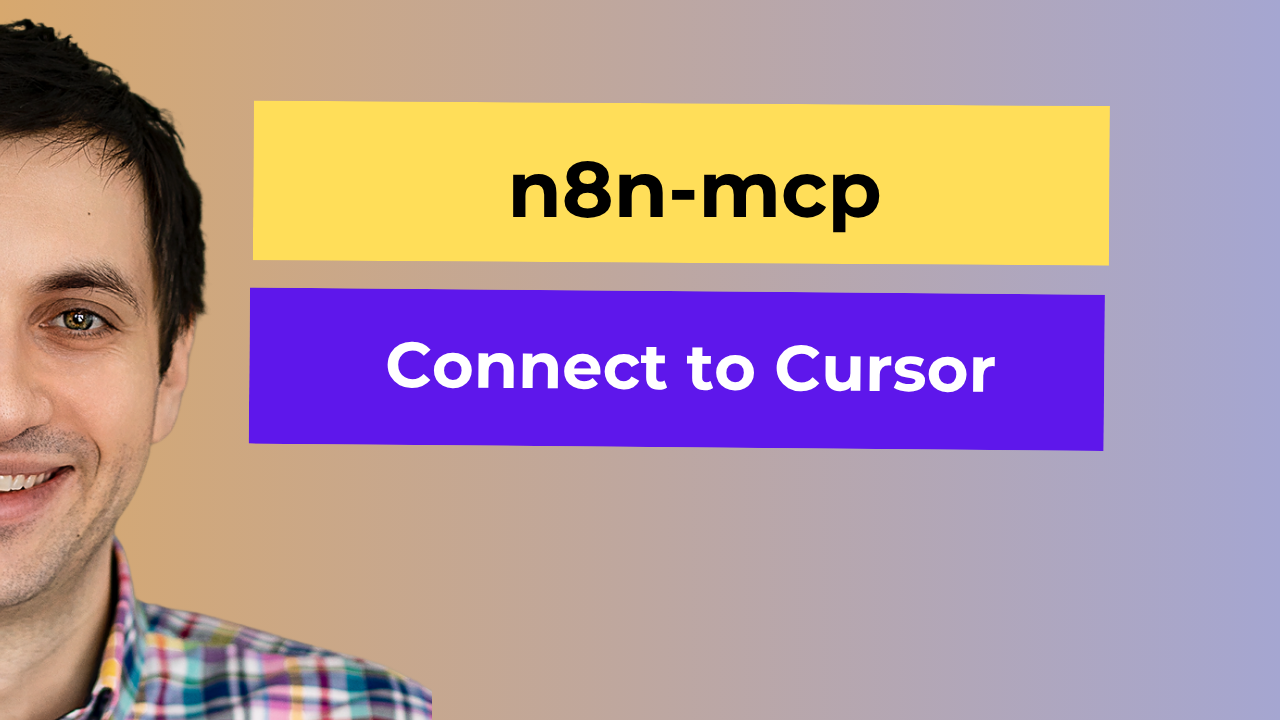
Cursor Setup
Connect n8n-MCP to Cursor IDE for enhanced n8n workflow development with AI assistance.
Video Tutorial
Watch the complete setup process: n8n-MCP Cursor Setup Tutorial
Setup Process
1. Create MCP Configuration
- Create a
.cursorfolder in your project root - Create
mcp.jsonfile inside the.cursorfolder - Copy the configuration from this repository
Basic configuration (documentation tools only):
{
  "mcpServers": {
    "n8n-mcp": {
      "command": "npx",
      "args": ["n8n-mcp"],
      "env": {
        "MCP_MODE": "stdio",
        "LOG_LEVEL": "error",
        "DISABLE_CONSOLE_OUTPUT": "true"
      }
    }
  }
}
Full configuration (with n8n management tools):
{
  "mcpServers": {
    "n8n-mcp": {
      "command": "npx",
      "args": ["n8n-mcp"],
      "env": {
        "MCP_MODE": "stdio",
        "LOG_LEVEL": "error",
        "DISABLE_CONSOLE_OUTPUT": "true",
        "N8N_API_URL": "https://your-n8n-instance.com",
        "N8N_API_KEY": "your-api-key"
      }
    }
  }
}
2. Configure n8n Connection
- Replace
https://your-n8n-instance.comwith your actual n8n URL - Replace
your-api-keywith your n8n API key
3. Enable MCP Server
- Click "Enable MCP Server" button in Cursor
- Go to Cursor Settings
- Search for "mcp"
- Confirm MCP is working
4. Set Up Project Instructions
- In your Cursor chat, invoke "create rule" and hit Tab
- Name the rule (e.g., "n8n-mcp")
- Set rule type to "always"
- Copy the Claude Project instructions from the main README's Claude Project Setup section