Update the feature workflow commands to create GitHub issues per phase
instead of per individual task. This reduces issue clutter while still
maintaining granular task tracking via checklists within phase issues.

Key changes:

**publish-to-github.md:**
- Create phase issues instead of individual task issues
- Each phase issue contains the full task checklist from implementation plan
- Add support for `[complex]` marker to break out complex tasks as separate issues
- Update Epic to link to phase issues instead of tasks
- Update github.md template to show phases and optional complex task issues

**create-feature.md:**
- Add documentation for `[complex]` task marker
- Update implementation plan format example with nested sub-tasks
- Add "When to Use [complex]" guidance section

**continue-feature.md:**
- Rewrite workflow to work with phase issues instead of task issues
- Add logic to identify current phase and find unchecked tasks
- Support both phase issue tasks and complex task issues
- Add step to update phase issue checklist after completing tasks
- Update completion reporting for phase-based progress
- Renumber steps (8.x → 7.x) for consistency

**Hybrid approach:**
- Default: one issue per phase with task checklists
- Optional: break out tasks marked `[complex]` or with nested sub-tasks
- Complex task issues link back to parent phase issue

This change results in ~5 issues (1 epic + 4 phases) instead of ~47 issues
for a typical feature, significantly reducing GitHub issue noise.

🤖 Generated with [Claude Code](https://claude.com/claude-code)

Co-Authored-By: Claude <noreply@anthropic.com>
Agentic Coding Boilerplate
A complete agentic coding boilerplate with authentication, PostgreSQL database, AI chat functionality, and modern UI components - perfect for building AI-powered applications and autonomous agents.
🚀 Features
- 🔐 Authentication: Better Auth with Google OAuth integration
- 🗃️ Database: Drizzle ORM with PostgreSQL
- 🤖 AI Integration: Vercel AI SDK with OpenRouter (access to 100+ AI models)
- 📁 File Storage: Automatic local/Vercel Blob storage with seamless switching
- 🎨 UI Components: shadcn/ui with Tailwind CSS
- ⚡ Modern Stack: Next.js 16, React 19, TypeScript
- 📱 Responsive: Mobile-first design approach
🎥 Video Tutorial
Watch the complete walkthrough of this agentic coding template:
☕ Support This Project
If this boilerplate helped you build something awesome, consider buying me a coffee!
📋 Prerequisites
Before you begin, ensure you have the following installed on your machine:
- Node.js: Version 18.0 or higher (Download here)
- Git: For cloning the repository (Download here)
- PostgreSQL: Either locally installed or access to a hosted service like Vercel Postgres
🛠️ Quick Setup
Automated Setup (Recommended)
Get started with a single command:
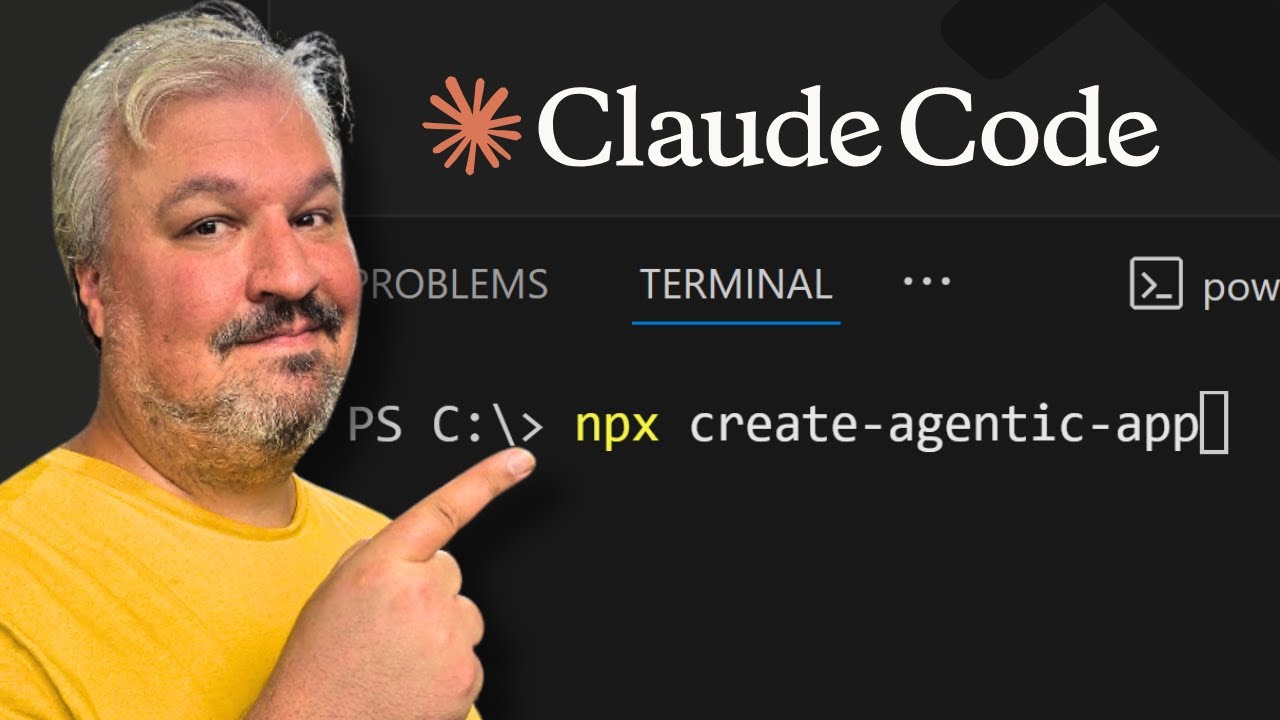
npx create-agentic-app@latest my-app
cd my-app
Or create in the current directory:
npx create-agentic-app@latest .
The CLI will:
- Copy all boilerplate files
- Install dependencies with your preferred package manager (pnpm/npm/yarn)
- Set up your environment file
Next steps after running the command:
- Update
.envwith your API keys and database credentials - Start the database:
docker compose up -d - Run migrations:
npm run db:migrate - Start dev server:
npm run dev
Manual Setup (Alternative)
If you prefer to set up manually:
1. Clone or Download the Repository
Option A: Clone with Git
git clone https://github.com/leonvanzyl/agentic-coding-starter-kit.git
cd agentic-coding-starter-kit
Option B: Download ZIP Download the repository as a ZIP file and extract it to your desired location.
2. Install Dependencies
npm install
3. Environment Setup
Copy the example environment file:
cp env.example .env
Fill in your environment variables in the .env file:
# Database
POSTGRES_URL="postgresql://username:password@localhost:5432/your_database_name"

# Authentication - Better Auth
BETTER_AUTH_SECRET="your-random-32-character-secret-key-here"

# Google OAuth (Get from Google Cloud Console)
GOOGLE_CLIENT_ID="your-google-client-id"
GOOGLE_CLIENT_SECRET="your-google-client-secret"

# AI Integration via OpenRouter (Optional - for chat functionality)
# Get your API key from: https://openrouter.ai/settings/keys
# View available models at: https://openrouter.ai/models
OPENROUTER_API_KEY="sk-or-v1-your-openrouter-api-key-here"
OPENROUTER_MODEL="openai/gpt-5-mini"

# App URL (for production deployments)
NEXT_PUBLIC_APP_URL="http://localhost:3000"

# File Storage (Optional - for file upload functionality)
# Leave empty to use local storage (public/uploads/) in development
# Set to enable Vercel Blob storage in production
BLOB_READ_WRITE_TOKEN=""
4. Database Setup
Generate and run database migrations:
npm run db:generate
npm run db:migrate
5. Start the Development Server
npm run dev
Your application will be available at http://localhost:3000
⚙️ Service Configuration
PostgreSQL Database on Vercel
- Go to Vercel Dashboard
- Navigate to the Storage tab
- Click Create → Postgres
- Choose your database name and region
- Copy the
POSTGRES_URLfrom the.env.localtab - Add it to your
.envfile
Google OAuth Credentials
- Go to Google Cloud Console
- Create a new project or select an existing one
- Navigate to Credentials → Create Credentials → OAuth 2.0 Client ID
- Set application type to Web application
- Add authorized redirect URIs:
http://localhost:3000/api/auth/callback/google(development)https://yourdomain.com/api/auth/callback/google(production)
- Copy the Client ID and Client Secret to your
.envfile
OpenRouter API Key
- Go to OpenRouter
- Sign up or log in to your account
- Navigate to Settings → Keys or visit Keys Settings
- Click Create Key and give it a name
- Copy the API key and add it to your
.envfile asOPENROUTER_API_KEY - Browse available models at OpenRouter Models
File Storage Configuration
The project includes a flexible storage abstraction that automatically switches between local filesystem storage (development) and Vercel Blob storage (production).
For Development (Local Storage):
- Leave
BLOB_READ_WRITE_TOKENempty or unset in your.envfile - Files are automatically stored in
public/uploads/ - Files are served at
/uploads/URL path - No external service or configuration needed
For Production (Vercel Blob):
- Go to Vercel Dashboard
- Navigate to your project → Storage tab
- Click Create → Blob
- Copy the
BLOB_READ_WRITE_TOKENfrom the integration - Add it to your production environment variables
The storage service automatically detects which backend to use based on the presence of the BLOB_READ_WRITE_TOKEN environment variable.
🗂️ Project Structure
src/
├── app/                    # Next.js app directory
│   ├── api/               # API routes
│   │   ├── auth/          # Authentication endpoints
│   │   └── chat/          # AI chat endpoint
│   ├── chat/              # AI chat page
│   ├── dashboard/         # User dashboard
│   └── page.tsx           # Home page
├── components/            # React components
│   ├── auth/             # Authentication components
│   └── ui/               # shadcn/ui components
└── lib/                  # Utilities and configurations
    ├── auth.ts           # Better Auth configuration
    ├── auth-client.ts    # Client-side auth utilities
    ├── db.ts             # Database connection
    ├── schema.ts         # Database schema
    ├── storage.ts        # File storage abstraction
    └── utils.ts          # General utilities
🔧 Available Scripts
npm run dev          # Start development server with Turbopack
npm run build        # Build for production
npm run start        # Start production server
npm run lint         # Run ESLint
npm run db:generate  # Generate database migrations
npm run db:migrate   # Run database migrations
npm run db:push      # Push schema changes to database
npm run db:studio    # Open Drizzle Studio (database GUI)
npm run db:dev       # Push schema for development
npm run db:reset     # Reset database (drop all tables)
📖 Pages Overview
- Home (
/): Landing page with setup instructions and features overview - Dashboard (
/dashboard): Protected user dashboard with profile information - Chat (
/chat): AI-powered chat interface using OpenRouter (requires authentication)
🚀 Deployment
Deploy to Vercel (Recommended)
-
Install the Vercel CLI globally:
npm install -g vercel -
Deploy your application:
vercel --prod -
Follow the prompts to configure your deployment
-
Add your environment variables when prompted or via the Vercel dashboard
Production Environment Variables
Ensure these are set in your production environment:
POSTGRES_URL- Production PostgreSQL connection stringBETTER_AUTH_SECRET- Secure random 32+ character stringGOOGLE_CLIENT_ID- Google OAuth Client IDGOOGLE_CLIENT_SECRET- Google OAuth Client SecretOPENROUTER_API_KEY- OpenRouter API key (optional, for AI chat functionality)OPENROUTER_MODEL- Model name from OpenRouter (optional, defaults to openai/gpt-5-mini)NEXT_PUBLIC_APP_URL- Your production domainBLOB_READ_WRITE_TOKEN- Vercel Blob token (optional, uses local storage if not set)
🎥 Tutorial Video
Watch my comprehensive tutorial on how to use this agentic coding boilerplate to build AI-powered applications:
📺 YouTube Tutorial - Building with Agentic Coding Boilerplate
🤖 Claude Code Commands
This project includes custom slash commands for Claude Code that streamline feature development with GitHub integration.
Available Commands
| Command | Description |
|---|---|
/create-feature |
Create a new feature specification with requirements and implementation plan |
/publish-to-github |
Publish a feature to GitHub Issues and Projects |
/continue-feature |
Continue implementing the next task for a GitHub-published feature |
/checkpoint |
Create a comprehensive checkpoint commit with all changes |
Prerequisites
Before using the GitHub-integrated commands:
-
GitHub CLI: Install and authenticate the GitHub CLI
# Install (if needed) brew install gh # macOS # or see https://cli.github.com/ # Authenticate gh auth login # Add project scopes (required for /publish-to-github) gh auth refresh -s project,read:project -
Claude Code: Install Claude Code CLI from claude.ai/code
Typical Workflow
1. Plan Your Feature
Start a conversation with Claude Code and describe the feature you want to build:
You: I want to add a user preferences page where users can update their display name,
     email notifications, and theme preferences.
2. Create Feature Specification
Once you've discussed the requirements, run:
/create-feature
This creates a spec folder at specs/{feature-name}/ containing:
requirements.md- What the feature does and acceptance criteriaimplementation-plan.md- Phased tasks with checkboxes
3. Publish to GitHub
Publish the feature to GitHub for tracking:
/publish-to-github
This creates:
- An Epic issue with full requirements
- Task issues for each implementation step
- A GitHub Project to track progress
- Labels for organization
- A
github.mdfile with all references
4. Implement Tasks
Start implementing tasks one at a time:
/continue-feature
This command:
- Finds the next unblocked task (respecting dependencies)
- Updates the GitHub Project status to "In Progress"
- Implements the task following project conventions
- Runs lint and typecheck
- Commits with
closes #{issue-number} - Updates the issue with implementation details
- Moves the task to "Done" on the Project board
Repeat /continue-feature for each task, or let Claude continue automatically.
5. Create Checkpoints
At any point, create a detailed checkpoint commit:
/checkpoint
This stages all changes and creates a well-formatted commit with:
- Clear summary line
- Detailed description of changes
- Co-author attribution
Example Session
# Start Claude Code in your project
claude

# Discuss feature requirements
You: I need to add API rate limiting to protect our endpoints...

# Claude helps plan, then you run:
/create-feature

# Review the spec, then publish:
/publish-to-github

# Implement task by task:
/continue-feature
# ... Claude implements, commits, updates GitHub ...

/continue-feature
# ... next task ...

# When done, push to GitHub:
git push
Without GitHub Integration
If you prefer not to use GitHub, you can still use /create-feature to create specs, then manually work through the implementation-plan.md checkboxes. The /continue-feature command also supports offline mode, tracking progress directly in the markdown file.
Command Files Location
Commands are defined in .claude/commands/:
.claude/commands/
├── checkpoint.md
├── continue-feature.md
├── create-feature.md
└── publish-to-github.md
You can customize these commands or add new ones following the Claude Code documentation.
🤝 Contributing
- Fork this repository
- Create a feature branch (
git checkout -b feature/amazing-feature) - Commit your changes (
git commit -m 'Add amazing feature') - Push to the branch (
git push origin feature/amazing-feature) - Open a Pull Request
📝 License
This project is licensed under the MIT License - see the LICENSE file for details.
🆘 Need Help?
If you encounter any issues:
- Check the Issues section
- Review the documentation above
- Create a new issue with detailed information about your problem
Happy coding! 🚀